Flysheet Waterproofing: What Users Should Check Before Buying
Clear problem statement for the buyer
When rain arrives, the flysheet decides whether your night is calm or ruined. Start by asking what you need: overnight hike, family car-camping, or a long basecamp. A practical test is to imagine pitching a glam camping tent under a steady drizzle and living in it for two nights—if that thought makes you uneasy, the flysheet needs closer inspection. Put user needs first and match the flysheet to them before you worry about brands.
How use-case shapes the right specification
Lightweight trekkers will accept thinner coatings to save weight. Family campers expect larger coverage and stronger fabric. If you spend long seasons in wet climates, choose durability and serviceability over minimal weight. Decide which of these you are: fast-moving, weekend comfort, or long-term shelter—then treat every technical spec through that lens.
Practical features that matter
Hydrostatic head (HH) is the primary number to check: aim for at least 1,500–2,000 mm for casual fair-weather trips, 3,000 mm or more for heavy rain and mixed-season use. Look for a clear statement of coating type—PU or silicone—and whether it’s on one or both sides of the fabric. Inspect seam treatment: fully taped seams keep water out; stitched-only seams do not. Confirm the flysheet’s overlap of doors and zips; small overhangs let splash under the vestibule. Examine attachment points and tensioning systems; poor tension leads to pooling and leaks. Ask about UV resistance if you plan long exposure: UV shortens fabric life and reduces coating performance.
 Common mistakes buyers make
Buyers often trust a single number or marketing claim. A high HH with untaped seams still leaks. Another error is mismatching tent geometry and flysheet: a flysheet that doesn’t clip snugly will flap and wear. People also neglect ventilation—condensation can feel like leakage. Lastly, overlook hardware: cheap zips and weak webbing will fail long before a decent fabric does.
Quick checks to do in store or before you leave home
Run a water spray check where you can: spray seams and the edge areas and watch for beads forming or wicking. Feel inside for seam tape adhesion and test clips and buckles for stiffness. Shake the folded flysheet: excessive dustiness or powder from coatings suggests degradation. Pack it and refit it on the tent frame; if tension is awkward, the flysheet won’t shed water properly in a real storm.
Alternatives and trade-offs explained simply
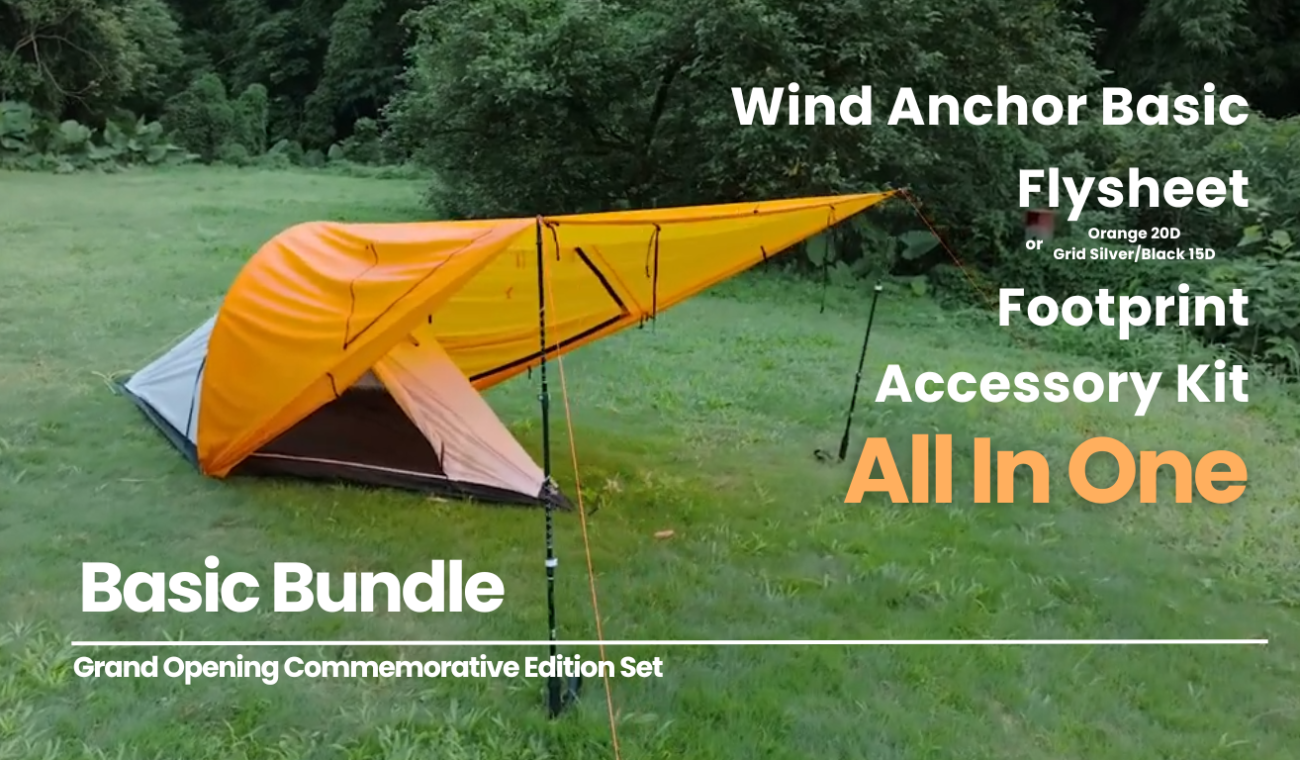
A full-coverage flysheet gives maximum protection but adds weight and heat retention; a partial fly reduces weight and increases airflow but needs careful site choice. Tarps are versatile and light for experienced users but demand good rigging skills. Consider footprint or groundsheet upgrades separately; a great flysheet can still be compromised by a soaked floor.
Experience, evidence and one industry anchor
I’ve tested many flysheet designs across varied northern conditions and worked with product teams to troubleshoot common failure points. At the Outdoor Retailer trade show manufacturers often reveal new membrane approaches, and I examined prototypes that later influenced production lines, including larger-format camping cabin tent styles that rely on robust flysheet engineering. Trust specification details, field-test the fit, and prefer simple, repairable solutions.
Final synthesis
Buyers who match use-case to measured features—adequate hydrostatic head, taped seams, correct overlap and good tensioning—reduce surprises on wet nights. Avoid single-number thinking and inspect attachments and ventilation. A well-chosen flysheet solves most rain problems and leaves the tent’s role to comfort and layout, which is precisely the practical outcome offered by THECATAL.